Thursday, August 18, 2011
A few quick notes...
So, I'm in a kind of in-between land, which is good for a while.
I'll be getting ready for a small show at the Shenendehowa Community Center in October through early December. It will be a mix of old and new images as well.
Latest news...I'm investing in a brand new, professional quality, large format photo printer. There was a promotion by Epson just too good to pass up. I will have to find a place to rest this 115 pound printer!
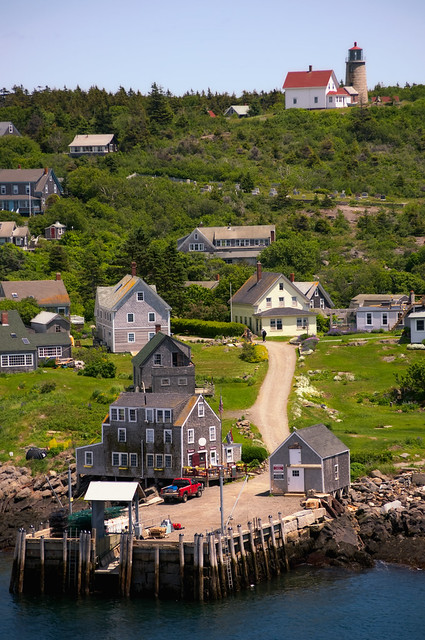
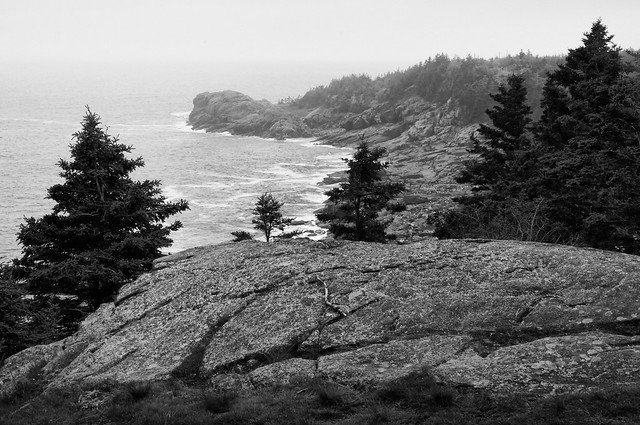
And finally, two photos in the 2011 juried Members Show at the PhotoCenter of the Capital District in Troy, NY. The opening reception is next Friday, the 26th, if anyone is in the area. Should be a very nice assortment of photographers. I have a LARGE darkroom print from my large format camera in the show, taken on Monhegan in May.
Photocenter info here:
Tuesday, July 26, 2011
Digital Infrared!!!
At a recent workshop (see the previous post), the instructor, Elizabeth Opalenik, has worked a lot in infrared--both film and now digital. She mentioned a company that converts the sensor in digital cameras to the infrared spectrum. This essentially lets your camera see a different representation of color than your eyes can see. The photos come out color, but very different. However, digitally on the computer you can convert to black and white, yet still control tones in the photo selectively by the original colors in the photo. So, since skies are a different color than trees in infrared, you can adjust each separately. Blue skies tend to be darker, green leaves tend to be almost white.
I had a Nikon D40 body that I wasn't using much anymore, so I decided to do the conversion to a color infrared sensor filter. Now, the humble D40 can have a custom set white balance, which infrared really needs. But, if I shoot a RAW file (instead of JPEG), I can set the white balance on the computer before I edit.
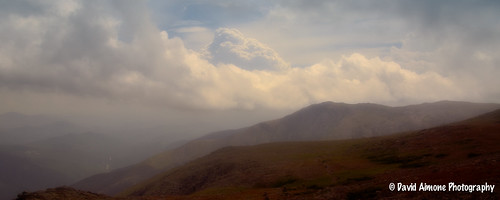
So, here's an example of an infrared photograph as a RAW file:
Now, after adjusting the white balance on the computer to bring out more of the colors, it looks like this:
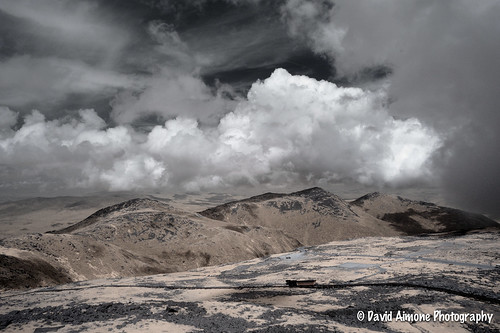
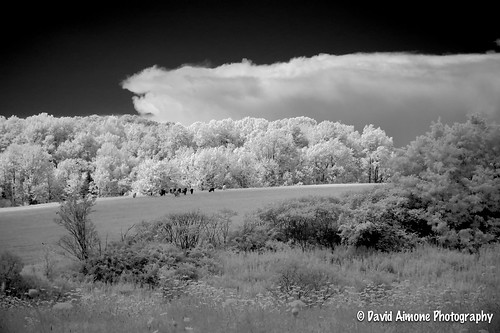
Finally, after switching the red and blue channels (and leaving the green channel as is), desaturating the photo, and then changing the strength of the underlying colors, this is one possible result:
Saturday, July 23, 2011
What a great workshop!
Here are some photos from the workshop:
Here's one with a more infrared look:
An example of one with motion:
And an experiment with fabric:
I'll be putting this new knowledge to work with both digital and film. I'm so excited!
Tuesday, June 7, 2011
Back from Monhegan!
Friday, May 20, 2011
Off to Monhegan later this week...
Wednesday, May 4, 2011
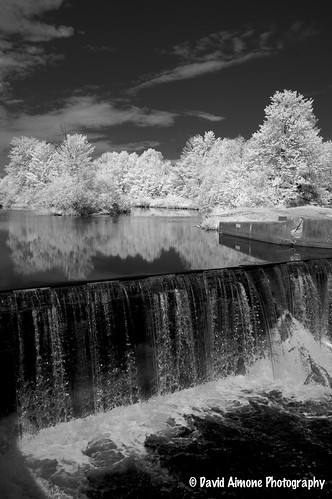
Snook Kill Spring #8
My favorite local waterfalls (at full strength), my favorite film, my favorite developer and my favorite camera...what could be better!
Snook Kill Falls are right off the road that climbs from the valley over a ridge to higher land. The property is for sale...I hope it isn't developed. I've never seen anyone there, even though it's literally right next to the road. But it's a bit tricky getting down there, especially where this photo was taken from.
The film Efke 25 is made in eastern Europe of a a very old formula. It is fragile when wet, so it's easy to scratch when developing. But i find the quality very sharp, detailed, yet not harsh. This photo had quite a range from dark to light, yet the film handled it gracefully.
The developer I've grown to rely on is a new developer based on old technology. Pyrocat-MC is a high accutance developer that is mixed just prior to use. The MC version comes as a liquid in two parts, and it's a staining developer, meaning I also need to wear gloves keep the chemical from both staining my skin and going through it!
The camera, of course, was my large format Chamonix 045n-2, a new 4x5" view camera based on technology well over 100 years old, but updated. 4x5" film is a good compromise. The detail is exquisite, the camera has movements that "normal" cameras don't have, yet it is a reasonable size. There are large film cameras, but to me they aren't worth carrying around.
Thursday, November 18, 2010
Into the Darkroom!
After I get back from the "west coast" trip, I hope to spend some time in there developing and printing. Here are a couple of overviews of the space...
The sink is 6 feet long by about 30 inches deep. I've installed a ventilation fan to the outdoors over it, as well as hot and cold water that I can regulate and monitor with a built-in thermometer. I put the enlarger on a low platform, because the ceiling is low and I can print up to 20"x24" prints in the current configuration, but the enlarger almost hits the ceiling to do this. IN the photo it is set up for 11x14 prints. On the wall is mounted the enlarger's timer. Almost everything in the darkroom was purchased second-hand, and there are really good bargains to be found in darkroom equipment. Even the counter top I purchased for $35 from a contractor who had it leftover.
In the corner, between the sink and the countertop is a small upper counter, where I can place the Jobo Rotary Processor, which is a tank that I develop photo negatives in. Processing chemicals are poured in and out of the tank, the tank rotates on the base, and the contents are poured out into the sink or into containers for re-use/re-cycling. Next to the Jobo Processor is the large acrylic print washer. Prints need to be thoroughly washed of processing chemicals.
Plumbing was pretty straightforward, from hot and cold lines just outside the room, and draining into the main sewer drain plug in the bottom corner of the room. GFCI's just had to be added to the electrical circuits in the room, the fan wired, and that was that. There's plenty of room for storage too, and safelights mounted on the wall for use during print processing.
What do you think?